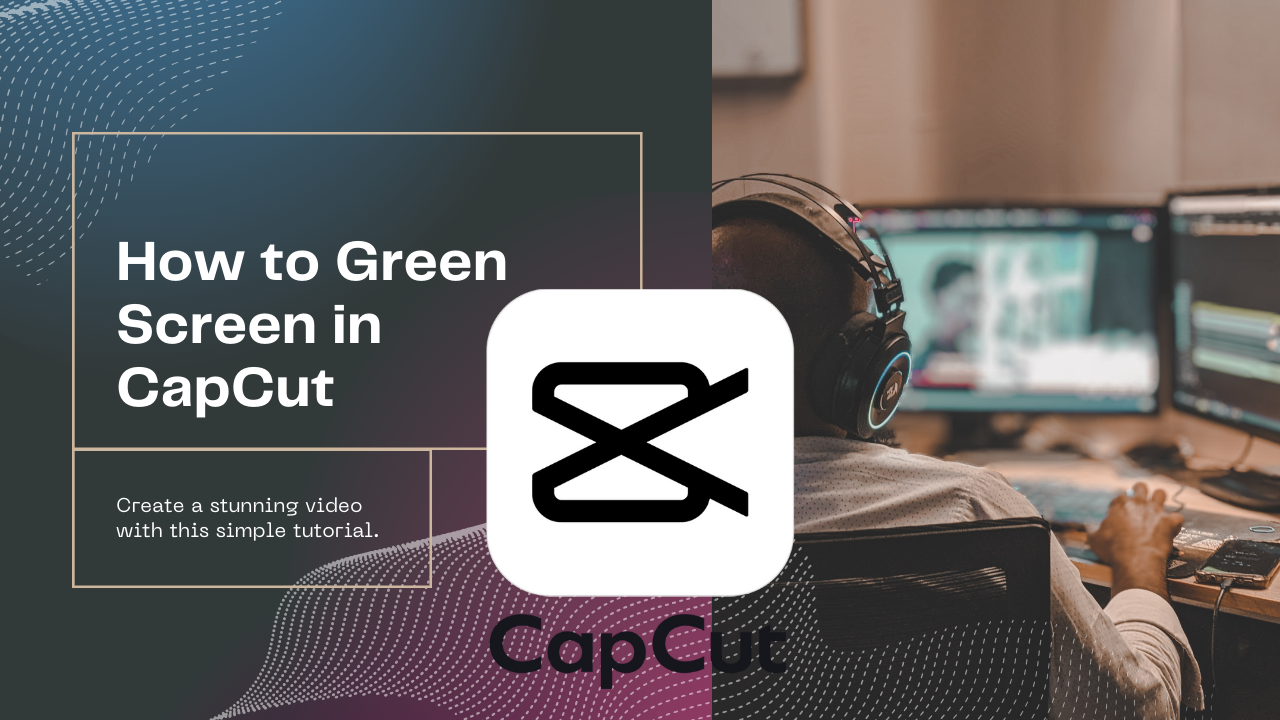
Green Screen Editing in CapCut: 10 Easy Steps
You might think that green screen editing in CapCut is complicated, but with these 10 easy steps, you’ll find it surprisingly straightforward.
Starting with setting up your green screen, importing your footage, and applying the green screen effect, each step builds upon the last to create a seamless final product.
By the time you reach the final step of sharing your masterpiece, you’ll have mastered the art of green screen editing in CapCut.
But before that, there are key techniques and tips waiting to enhance your editing skills – guiding you to create professional-looking videos effortlessly.
Key Takeaways
- Set up a well-ironed green screen with uniform lighting for optimal results.
- Use CapCut’s user-friendly interface to import footage and apply green screen effects effortlessly.
- Adjust key settings like spill correction and edge feathering for a clean, professional look.
- Experiment with advanced chroma key techniques to enhance the overall visual appeal of your video.
Setting up Your Green Screen
To get started with setting up your green screen for editing in CapCut, ensure you have a well-ironed green backdrop that’s evenly lit to avoid shadows.
Begin by setting up your lighting so that it’s uniform and doesn’t cast any shadows on the green screen. Choose a high-quality fabric for your backdrop to ensure easy editing later on.
Position your green screen a few feet behind you to prevent any unwanted shadows. Additionally, consider using accessories like clamps to keep the backdrop taut and free from wrinkles.
Importing Your Footage in Capcut
When importing your footage in CapCut, make sure to organize your files in a clear and structured manner to streamline your editing process. To enhance your editing experience, consider the following:
- Lighting tips: Ensure even lighting on your green screen to facilitate easier keying during editing.
- Green screen fabric: Invest in a high-quality green screen fabric to ensure a smooth and effective keying process.
- Camera angles: Capture your footage from various angles to provide flexibility during the editing stage.
- Editing software: Utilize CapCut’s user-friendly interface to import and manage your footage seamlessly.
Applying Green Screen Effect
For a seamless integration of your subject into a new background, consider adjusting the green screen effect settings in CapCut to achieve a professional look. To enhance your green screen editing, here are some essential tips and techniques:
| Lighting Techniques | Green Screen Tips | Color Correction | Special Effects |
|---|---|---|---|
| Use consistent lighting to avoid shadows and color spills. | Ensure your green screen is evenly lit to make keying easier. | Adjust color levels to match the background for a cohesive look. | Add special effects to enhance your video and make it more engaging. |
| Position lights at a 45-degree angle to reduce shadows. | Use a high-quality green screen with minimal wrinkles. | Fine-tune hue and saturation for a natural blend. | Experiment with different effects to create unique visuals. |
| Use soft lighting to create a more flattering effect. | Avoid wearing green or colors close to green to prevent keying issues. | Balance brightness and contrast to match the scene’s lighting. | Incorporate effects like transitions or overlays for added flair. |
Adjusting the Key Settings
Adjust the key settings in CapCut to fine-tune the integration of your subject with the new background, ensuring a seamless and professional finish. When adjusting the key settings, consider the following:
-
Lighting Setup: Ensure uniform lighting on both the subject and the green screen to minimize shadows and inconsistencies.
-
Color Spill: Adjust the spill correction to eliminate any unwanted green hues reflected on your subject.
-
Edge Feathering: Fine-tune the edge feathering to soften the transition between your subject and the background.
-
Key Color: Select the precise key color that matches your green screen for accurate removal.
Fine-Tuning the Chroma Key
To enhance the quality of your chroma key effect in CapCut, consider refining the color tolerance and spill suppression settings for a more polished and professional look.
When fine-tuning the chroma key, delve into advanced techniques like adjusting color correction to match the background, ensuring a seamless blend.
Troubleshooting tips can help tackle common issues such as uneven lighting or shadows interfering with the key effect. Pay attention to the lighting setup; a well-lit green screen with minimal shadows will make the keying process smoother.
Experiment with creative overlays to add depth and interest to your composition, enhancing the overall visual appeal. By mastering these finer details, you can elevate your green screen editing game and create captivating videos with CapCut.
Adding Background Images or Videos
To enhance your green screen editing in CapCut, seamlessly incorporating background images or videos can elevate the overall visual impact of your project. When adding background elements, consider the following tips to make your video stand out:
-
Creative backgrounds: Choose visually appealing and contextually relevant backgrounds to enhance the mood of your video.
-
Animated overlays: Add dynamic elements to your background to create a more engaging visual experience.
-
Color correction: Ensure that the colors of your background match the lighting and tone of your foreground footage for a seamless blend.
-
Lighting effects: Experiment with different lighting effects to create depth and dimension in your video composition.
Adjusting the Overlay Position
Positioning your overlay element in CapCut can significantly impact the composition and visual appeal of your green screen edit. To enhance your video, delve into overlay customization using advanced techniques.
Creative positioning is key for effective visual storytelling. Experiment with layering effects to achieve seamless integration of your overlay with the background. Add depth and interest by incorporating overlay animation for dynamic visuals.
Utilize text overlay for graphic design integration, ensuring your message is conveyed clearly. By mastering the art of adjusting the overlay position, you can elevate the overall look of your video and captivate your audience with a polished and professional finish.
Enhancing the Overall Look
Enhance the overall visual impact of your green screen edit in CapCut by implementing advanced editing techniques to create a polished and professional finish. To elevate the look of your project, consider the following:
-
Color correction: Adjust the colors to ensure consistency and vibrancy throughout the video.
-
Lighting effects: Add lighting effects to enhance the mood and atmosphere of your footage.
-
Text overlays: Incorporate text overlays to provide context, information, or a creative touch to your video.
-
Sound editing: Fine-tune the audio elements to complement the visuals and create a more immersive experience for the viewer.
Previewing and Exporting Your Project
When you’re ready to see how your green screen edit in CapCut looks and share it with others, the next step is previewing and exporting your project. Before exporting, use CapCut’s playback options to preview changes in real-time.
Ensure your project timeline is trimmed precisely to include only the desired segments. Adjust color correction and add filters to enhance the visual appeal. Fine-tune audio adjustments and add music to set the mood.
When exporting, CapCut offers various quality settings to suit your needs. Explore the exporting options to select the format that best fits your project requirements. Preview your masterpiece one last time before exporting to ensure everything looks perfect.
Sharing Your Green Screen Masterpiece
To showcase your green screen masterpiece created in CapCut, share it with others through various platforms to impress your audience with your editing skills. Here are some strategies to effectively share your creation:
-
Utilize social media: Post your video on platforms like Instagram, TikTok, or YouTube.
-
Collaborate with others: Partner with influencers or content creators to reach a wider audience.
-
Join editing communities: Share your work on forums or groups dedicated to video editing to receive feedback and exposure.
-
Participate in challenges: Engage in editing challenges or contests to showcase your skills and gain recognition for your creative effects and mastering transitions.
Conclusion
Now that you’ve mastered the art of green screen editing in CapCut, the possibilities are endless.
With just a few simple steps, you can transport yourself to any location, create dynamic visual effects, and unleash your creativity.
So go ahead, experiment, and see what amazing creations you can bring to life with the power of green screen editing.
The world is your canvas, so let your imagination run wild!

2 Comments